LABEL ME PREtty pocket card tutorial

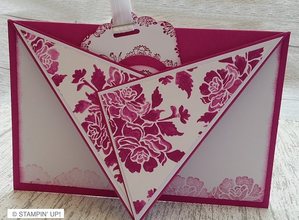
Today my project using products from the new Stampin' Up! annual catalogue to create a fancy folded C6 card. This is a really easy fold as it uses a standard C6 card base.
To create the card base, I used a piece of Berry Burst measuring
8 1/8" x 5 3/4" scored in the middle, on the 8 1/8" side, at 4 1/8"
8 1/8" x 5 3/4" scored in the middle, on the 8 1/8" side, at 4 1/8"

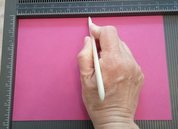
To create the fancy fold, you just need to make two diagonal score lines on the card front. One score line is from the centre of the card to the outer left edge. The second score line is made from centre of the card to the outer right edge.
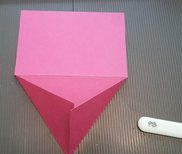
Then you fold and burnish the score lines folding the card up and back.
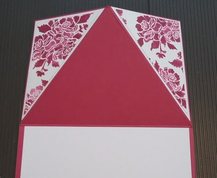
BEFORE you glue anything down you need to add the triangle card and paper mat layers.
BEFORE you glue anything down you need to add the triangle card and paper mat layers.
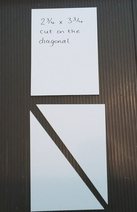 | 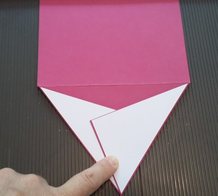 I used a white card base for the first mat. The triangle layers were easy to create. For the base mat you need to cut a 2 1/4" x 3 3/4" piece of card in half, on the diagonal then glue in place on the card front. |
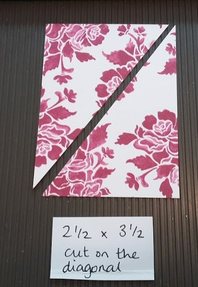 |  The DSP layer measures 2 1/2" x 3 1/2". Cut the paper on the diagonal. Be careful how you cut the paper to ensure the right pattern is showing (see pic) Glue layers in place |
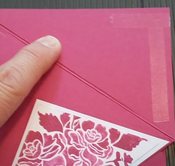
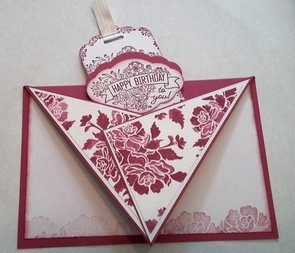
To create the pocket on the card front to hold your tag:
Place the glue on the inside of one flap only.
See picture as you only place the glue on a small area of the flap to ensure you can put a tag in the pocket.
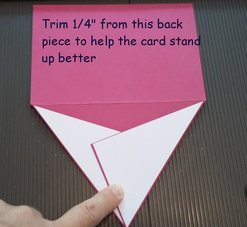
Note: Before I glued the inside layer card in place, (next step) I did trim off just under 1/4" from the back part of the card, this makes the card stand up better.
Place the glue on the inside of one flap only.
See picture as you only place the glue on a small area of the flap to ensure you can put a tag in the pocket.
Note: Before I glued the inside layer card in place, (next step) I did trim off just under 1/4" from the back part of the card, this makes the card stand up better.
 |  |
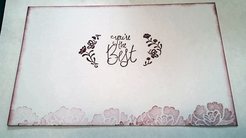
To decorate inside the card use a piece of white card measuring 5 1/2" x 3 1/2"
Using a sponge dauber ink around the edge with Berry Burst ink (144083).
Stamp a sentiment in the middle I used the Label Me Pretty stamp set (143861)
I also stamped the main image from the Floral Phrases set (141767) using just one impression of ink, then stamping along the base of the white card layer, giving an Ombre effect. Glue this in place on to the card base.
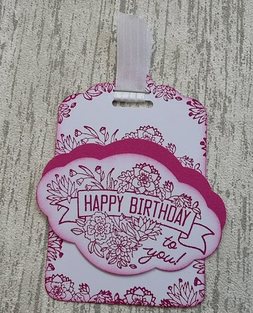
The tag is made using white card measuring 2" x 3"
To make the tag use the Scallop Tag Topper punch (133324)
Then you will need to punch out a piece of Berry Burst card (144249) using the Pretty Label punch (143715)
I then used the Happy Birthday stamp from the Label Me Pretty set (143861), I stamped using Berry Burst ink (144083) on white card and punched this out also using the Pretty Label punch (143715)
I decorated the scallop tag using the same sentiment stamp being careful to only stamp the flowers from the image. The second label punch layer covers up the sentiment so you only see the flowers showing beneath the Berry Burst label (see picture). Finally I stapled a piece of white ribbon on the tag. It is now ready to pop in the front pocket of the card.
 | Full PDF printable instructions can be found here
| ||
 RSS Feed
